Beat Studio First Setup: MIDI and Audio
Set up Beat Studio for your e-drum kit in a few minutes: connect your kit and headphones, map your pads, and get your sound and timing right before you play.
Step 1: Wiring. When you hit a pad, whose drum sound do you want to hear?
Not sure? Start with Beat Studio’s kit. Choose your module’s kit if you prefer how it feels, or if you can’t get the delay low enough.
Step 2: Check that Beat Studio sees your kit
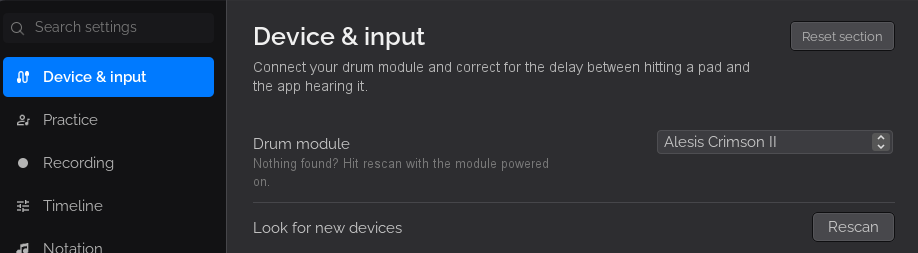
Power on your module, ideally before you start Beat Studio. Beat Studio detects MIDI devices automatically. Open Settings from the library sidebar, go to Device & input, and check that your kit is selected under Drum module. If you connected the kit while Beat Studio was already running, click Rescan. You don’t need to restart the app.
If your kit isn’t in the list:
- Try a different USB port, preferably one directly on the computer rather than a hub.
- Some modules need USB-MIDI turned on in their own settings menu.
- On Windows, some modules (Roland in particular) need the manufacturer’s driver installed first.
- On macOS, check that the kit appears in Audio MIDI Setup (Applications → Utilities).
If the operating system doesn’t see the kit, Beat Studio can’t either. There’s more on this in Troubleshooting.
Step 3: Map your pads
Every drum module sends a MIDI note number for each pad, and different brands use different numbers. Mapping tells Beat Studio which note belongs to which drum, so a snare hit plays a snare and is scored as a snare.
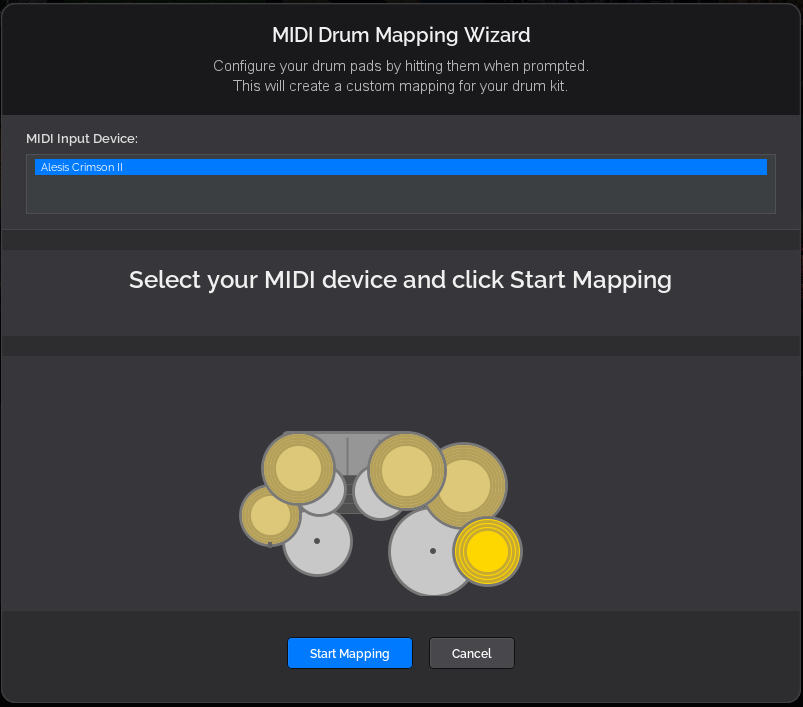
In Settings → Device & input → MIDI Pad Mapping, click Open Mapping Wizard and hit each pad when it asks. Your mapping is saved per device, so you only do this once for each kit.
The MIDI mapping guide covers rim and cymbal zones, the hi-hat pedal, fixing single pads and testing your mapping.
Step 4: Pick your audio output device
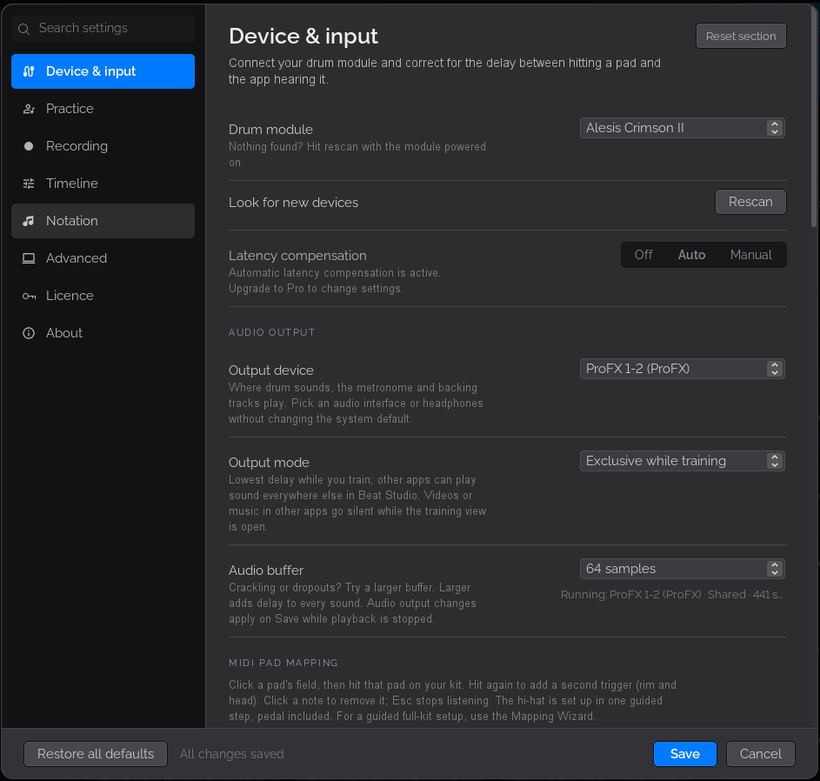
Under Audio output, set Output device. If you use an external audio interface, select it. Otherwise, select your computer’s own output, such as Speakers (Realtek(R) Audio) on Windows or External Headphones on a Mac.
A few tips:
- An audio interface is best, if you have one. It usually handles small buffers (Step 6) better than built-in laptop audio.
- Avoid Bluetooth headphones and speakers. Bluetooth adds a delay you can clearly hear, often more than 100 ms, and no buffer setting can remove it. For drumming, that’s the difference between hearing a hit and hearing an echo.
One rule for all the audio output settings: changes apply when you click Save while playback is stopped. If something is playing when you save, stop it and save again.
Step 5: Choose an output mode (Windows only)
On Windows, leave Output mode on Auto, the recommended setting. If YouTube, Spotify or system sounds go silent while Beat Studio is open, switch to Exclusive while training.
The Windows output modes guide explains every mode and when to use it. On macOS there’s no output mode to pick, so go straight to Step 6.
Step 6: Set the audio buffer
The Audio buffer is how much audio Beat Studio prepares in one go before sending it to your device, measured in samples. It’s a trade-off:
- Smaller buffer: lower latency, so you hear your hits sooner. But the computer has less time to keep up, and if it falls behind you hear crackles, pops or dropouts.
- Larger buffer: more stable, but every sound comes a little later.
Each buffer holds this much audio at 44.1 kHz. The total delay you hear is higher, because the audio driver and device add their own, but the table shows how the buffer sizes compare:
| Buffer | Buffer length |
|---|---|
| 64 samples | ≈ 1.5 ms |
| 128 samples | ≈ 3 ms |
| 256 samples | ≈ 6 ms |
| 512 samples | ≈ 12 ms |
To find the right value:
- Stop playback.
- Pick a small buffer, such as 64 or 128 samples, and click Save.
- Play a pattern with a busy backing track and listen closely while you play.
- If you hear crackles or dropouts, raise the buffer one step, save, and listen again.
Use the smallest value that plays cleanly. A few milliseconds of extra delay is much easier to live with than crackling. If even large buffers crackle, close heavy apps such as browsers with many tabs, video calls or other audio software. On Windows, also try a different output mode.
This matters whichever sound you chose in Step 1. With module sounds, your own hits skip the buffer, but the backing track, click and pattern drums don’t, and they’re what you play along to.
Step 7: Check latency compensation
There’s one more delay that the buffer doesn’t cover: the time between hitting a pad and the MIDI signal reaching Beat Studio. It’s usually 5–10 ms, depending on your module, cable and computer. Left alone, it would make every hit look slightly late and lower your timing scores.
Latency compensation corrects this, so your hits are scored when you actually played them. The options are:
- Auto (default): Beat Studio handles it for you. Leave it here unless you have a reason not to.
- Off: no compensation.
Latency compensation only covers the MIDI delay on the way in. The delay on what you hear comes from the output device, output mode and buffer (Steps 4–6).
Only change it if your scores are consistently off in one direction, with hits that feel on time always marked early or always late. Adjust it in small steps and play the same pattern after each change. If your timing is just uneven, it’s probably your playing, not the setting. That’s what practice is for.
Your setup is done
If something isn’t working, the Troubleshooting page covers the most common problems, and the FAQ answers most other questions. Once your kit feels right, the next step is the SENS knob, which tunes how each pad responds to how hard you hit it.